Sunday, January 31, 2010

My offerings for the Inchie swap

I joined my first Inchie swap earlier this month and sent out to my partners last week. It was a lot of fun, though I was nervous at the beginning since I really didn't know what I was doing.

Don't know what an inchie is? Check out this link.


We were all in groups of 8, so we each made 7 sets of 7 inchies to send to each person.

I approached my inchies like tiny works of art. And really, and inch is pretty freaking tiny when you are trying to draw. I did a few sets of continuous art, broken up into squares and a few sets of individual inchies that fit together in a theme. I like continuity, I like repetition and I love how each person I swapped with now has a part of a larger piece of art, shared with like-minded people.

I am a totally sucker for customised packaging. To the point that I am considering posting a cutom packaging design service when I open my online stores.

Here are the envelopes I printed out, just a piece of heavy computer paper (210gsm).


The inside:

I cut out each little square and the inchies are stuck between the folds of paper with a little blu-tack. A custom design also gave me the opportunity to make a special frame for my little bonus, a magnet inchie to pop on the fridge.

With all of my swaps I like to send out a little extra, a practice I intend to follow into owning a store. Little surprises can be really inexpensive but leave a wonderfully happy feeling with the recipient. In a swap situation it makes you both feel happy about giving and receiving something special and in a business perspective it gives added value and leaves a really good impression in the buyer's mind.

I am pretty pleased with the results, those little pieces of art are quite addictive.

Saturday, January 30, 2010

Today's work in progress, bunnies for an Easter mood

I have been thinking about my upcoming tutorials and keep coming back to Easter. I thought I would try out a simple sculpting project to see if it would be suitable for a tutorial. Polymer clay and some basic sculpting tools and viola! Bunnies.

This was also my chance to try out Fimo clay, until now I have only used Sculpey III since it is the only one easily available at my craft stores. I found some Fimo a while ago at a store a little out of my way.

The Fimo was much firmer and resisted fingerprints quite well. It needs a little extra kneading time but I have found that once a blob is kneaded, it stays softer than the packaged block for the next time you use a piece. I thought it would not take sculpting impressions but was pleased to see even my softest strokes stayed on the clay.
 
In progress


All fired up, lol. Accented with acrylic paints in raw umber and gold, golden bunny has some metallic gold stamping ink on him too.
To show sizing

I am quite pleased with the results. I think the white bunny would be a suitable form for a tutorial, he is a carved egg shape basically.

I would appreciate your opinions. Do you think a tutorial would be good?


Bandaged hand = quiet play time

So I have spent most of this week with my hand smothered in tiger balm and wrapped up with a bandage. Probably an RSI injury but I will know more next week after some tests.

So, what do you do with a wrapped up hand and a pushy little kid?? Whip out the cars, dinosaurs and pirates. Yep pirates too. You can just see a blurry Xavier in the background with his own bandaged hand so he can me like me :D.


Apparently the little green dinosaur did something nasty enough to warrant the attention of a pirate cop. Lighting McQueen can be seen fleeing the scene of dino's escape attempt.
Fun times!

Wednesday, January 27, 2010

A wonderful way to start the day

This morning when we woke up my first thoughts were of a yummy breakfast. One that I don't have to cook! Since the weather has been outrageously hot over the last few days I thought a McDonalds breakfast would be great. Plus, our local restaurant has a wicked playground.

So we trooped down to McDonalds, indulged in some yummy food and then gave Xavier free reign in the playground. To my surprise it was air conditioned too so the temperature was pure bliss.I got to relax in the cool, Xavier got to explore the playground (which included kid-sized helicopters so he was in heaven) and we all got a yummy meal with no washing up.

Not bad for $20 and an hour of play.

The little things really do make a difference. Xavier was happy for the rest of the day and Stephen was thrilled he got a dose of hotcakes without having to ask!

Monday, January 25, 2010

Paper Waratah flower tutorial - Australia Day project

Happy Australia Day! Ok, well Australia Day is really tomorrow but I wanted this pattern to be available a little early. These tiny paper Waratah flowers are really easy to make and you can do the earring set in under an hour. Plus, you probably have all the materials on hand! How cool is that?

Also mentioned at Craftster.org...


Approximate time for 2 earrings: up to 1 hour

Materials:

  • 1 piece of office paper in your chosen colour, or 1 piece of decorative scrapbook paper cut to size (I used a plain piece of red copy paper. Dress up plain paper with a stamp or draw some squiggles)
  • 2 x 5cm (1 inch) head pins, any metal
  • A pinch of seed beads to complement your paper colour ( I chose red)
  • 2 x sequins, any colour you like (mine are pearl white)
  • earring findings of your choice - these earrings can also be attached to plain sleepers instead of earring hooks or studs
Tools:
  • craft knife, or scissors if you prefer
  • round nosed pliers to close the loops
  • desktop printer
Steps:
Start by downloading the pattern to your computer and print onto your paper.


1. Cut out each piece and stack according to size. For each flower there will be 4 x extra large pieces, 2 x large pieces, 2 x medium pieces, 2 x small pieces and 2 x base pieces.

2. Pierce a small hole in the centre of each piece using a craft knife or thumbtack.


3. Fold the flower petals up into a soft cone.


4. Gently curl the points towards the centre.


5. Mould the base pieces into shallow bowls and curl the petals back. I used a half-sphere measuring spoon for this but your fingers will do fine.

6. Thread a sequin onto the head pin. Add a base piece, followed by a seed bead.


7. Add the next base piece followed by a seed bead.

8. Thread on one of the extra large petals, followed by a seed bead.

9. Repeat this process, progressing down through the petal sizes.

10. Thread the final small petal and follow with a seed bead.

11. Push the flower gently to the base of the head pin. Grasp the petals, not the base pieces, and firmly mould the flower into a cone shape. Don't be shy here.

12. Using an index finger, hold against the side of the flower and press downwards. This flares the base a little and makes for a fat-bottomed flower. Repeat all around the flower until it is even.


13. Use your pliers and make an eye in the headpin. Secure to your earring findings.


 NOTE: You can also make a plain, upright flower. Thread the pieces from smallest to largest, followed by the base pieces. Secure with a crimp bead and give to a loved one.

If you make your own please let me know how they turn out!

Also, I do apologise for the copyrights on the pictures and the disclaimer on the pattern. I really do not mean to be rude or distrustful, but being the internet you never know when someone will swipe your tutorial and claim it as their own. This is purely to discourage unsavoury characters and to hopefully prevent others from profiting from my hard work without my permission.

Sunday, January 24, 2010

Social networking - time consuming progression

I had some grand plans about getting some new posts up tonight until I realised the amount of background work that is needed for this social networking foray.

In order to post my Australia Day project I need to make available a pdf pattern file. Hmmm... ok, off to MediaFire to make an account and get the file uploaded and ready. Hang on, while I am at it, let's get that Flickr slideshow added to the blog so if I can actually entice anyone over her I have something to show. Crap, gotta sign up for Flickr too and then upload the photos. No, wait! I need to add a copyright to my images and make them smaller so I don't go over my account limit. Oh dear, while I have everything open I should probably send all these sites to the one email address so if anyone comments I don't need to check a dozen emails.

Wow, what a job!

So the result is I have done hours of work and have very little to show for it. Typical :D

At least my little blog is looking good now, especially with help from bloggertemplatesblog and their easy tutorial on how to add social networking buttons to posts. And bloggerbuster's super simple rundown on adding a Flickr photostream of your photos. A serious thank you to all bloggers out there that can simplify the jargon for the rest of us.

On that note, any comments or suggestions about my blog would be very welcome. Constructive stuff of course!

Saturday, January 23, 2010

Misery loves comfort

What is it that makes me miserable? Feeling guilty, feeling like a failure, feeling like I could have achieved more.

If I set myself a task and don't complete it I give myself an excuse. You know the ones. 'I didn't exercise today because I hurt my foot...' to which you will receive sympathy from others. But let's be totally honest, you could have done something right?

'I didn't get that craft done today because I was so busy at work/the kids were playing up/I didn't feel well...' to which you will receive a supporting 'oh yes, I know how hard it is.' from others.

I spout off excuses to myself and end up making myself miserable because deep down I know the truth, I could have done something. And I don't even bother getting the sympathy responses!

Even if you broke your leg, wouldn't you feel proud of yourself if you grabbed the hand weights and did a few reps on the lounge? If the kids are demanding attention wouldn't you pat yourself on the back if you got them involved in a craft and then put in some time on your own project simultaneously? Have we become so accustomed to searching for excuses that we fail to see that the excuses are not valid reasons and only make us even unhappier?

No one else cares if I don't exercise, no one really notices if I don't give enough time to an artwork because no one knows I planned it in the first place. The only person monitoring my progress is me, and I am the one that fails myself by not just getting out there and doing it. Anything.

Are we afraid of being proud of ourselves? Now that is the million dollar question. Am I afraid of being happy with myself? Delving into places I would rather not venture I would tentatively say yes, I am afraid of being proud of myself. No, I don't know why yet.

I had a wonderfully supportive mother growing up (who is still my greatest fan), my husband stands beside me in my projects, my friends compliment me and my brother always has lovely things to say about my work. Why in hell have I conditioned myself to accept misery??

The whole cycle is ridiculous. I know i feel better during my day if I exercise in the morning.Yes, it means getting up earlier (which I loathe!) and entertaining darling son while I jump around in front of the screen, bopping along to the music. But X is happy to munch on a banana and declare, as he jumps around, that he is exercising too. It doesn't stop me doing it and afterwards I feel proud of myself, so why do I avoid it so often?

Part of me has a constant fear that happiness always comes before a fall. Should I be happy, something bad will follow. Mentally, a ridiculous concept to give time to, but emotionally, a background fear that is hard to shake. The truth being, of course, is that bad stuff will happen. Yep, it sucks. Shit happens, even the bumper stickers say so. Does it happen because we let ourselves be happy or feel proud of ourselves for a moment? Hell no! All we secure for ourselves by sabotaging our own happiness is a constant supply of misery, fun stuff. 

Have I, as so many others in our younger generations, fallen into the bottomless pit of laziness? Do I want everything to just fall into my lap without effort? Well, yeah, of course. Stupid question! Who wouldn't want everything for no effort? Do I expect everthing to fall into my lap without effort?Hmmm, I guess I do. Wow, that's stupid.

So, my task (should I choose to accept it) is to just get out there and do it. Don't look back, don't worry about what will follow my bout of self-contentment, just do it. Way to go Nike, you finally got me repeating crappy sports mantras. But the sneaker-dudes have a point.

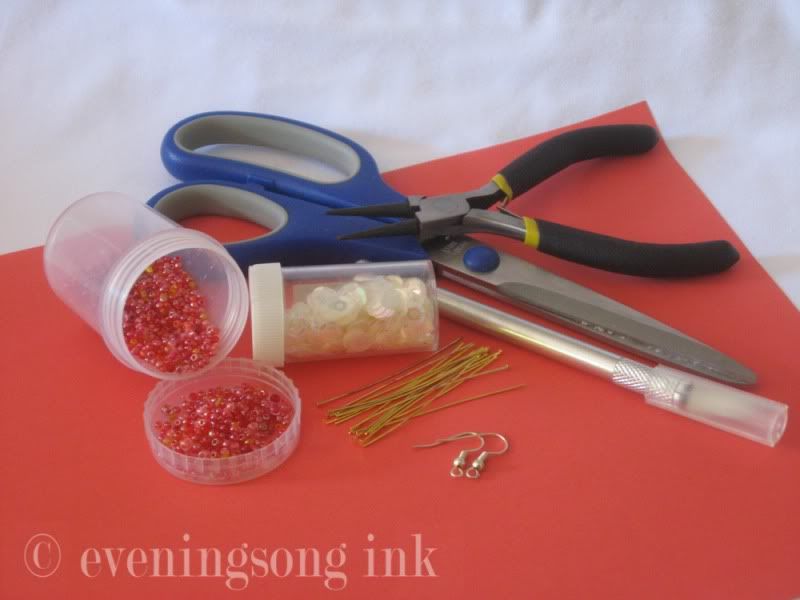
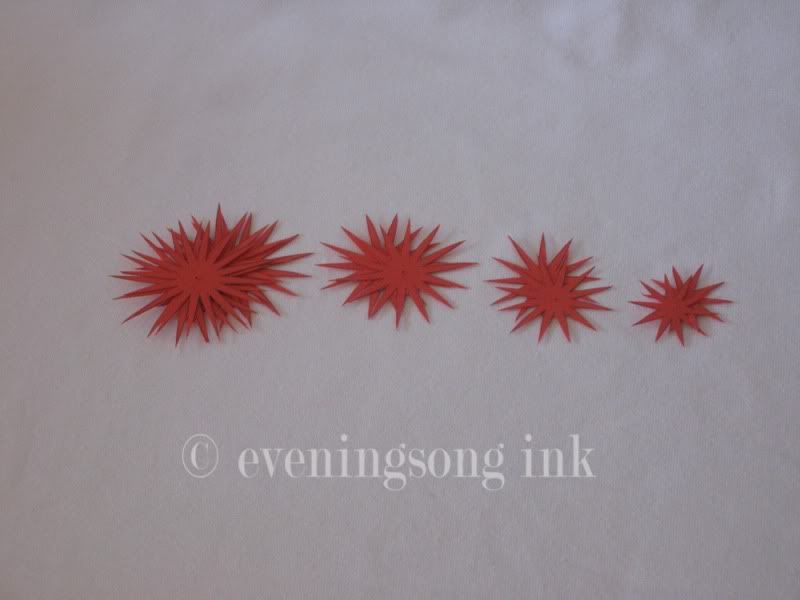
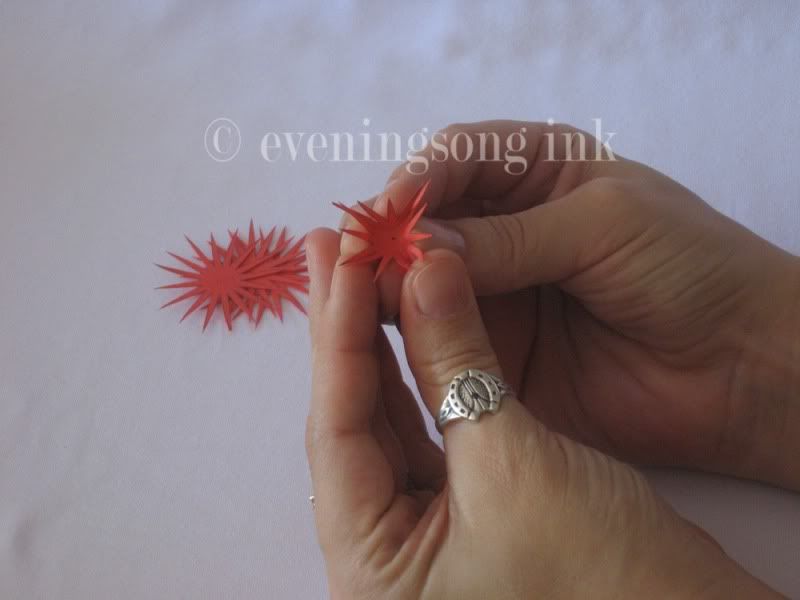
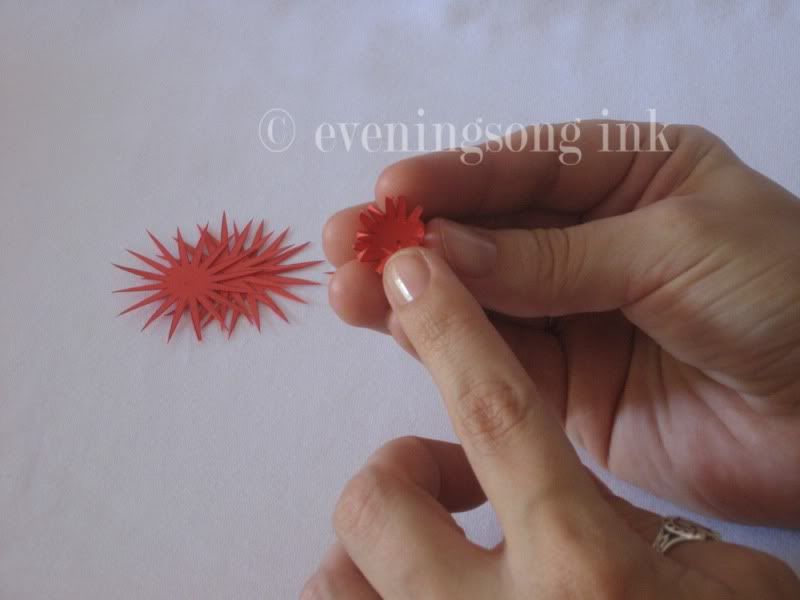
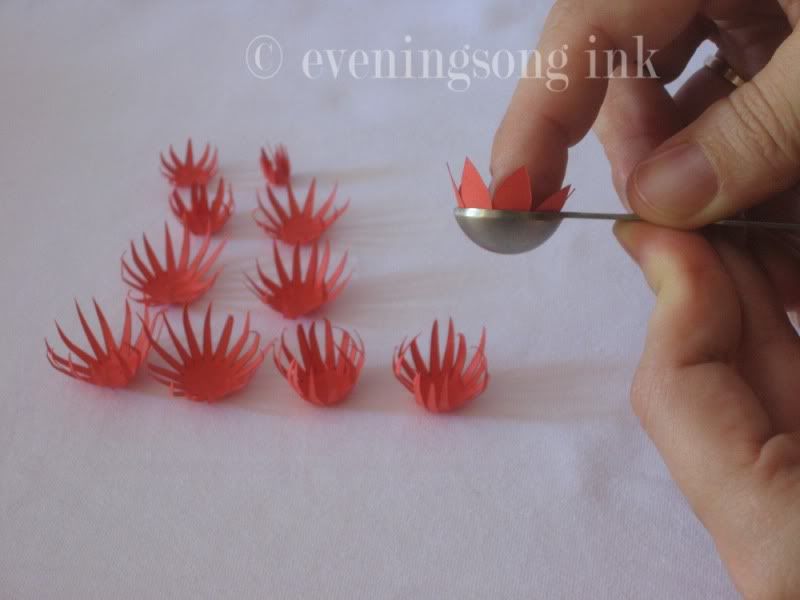
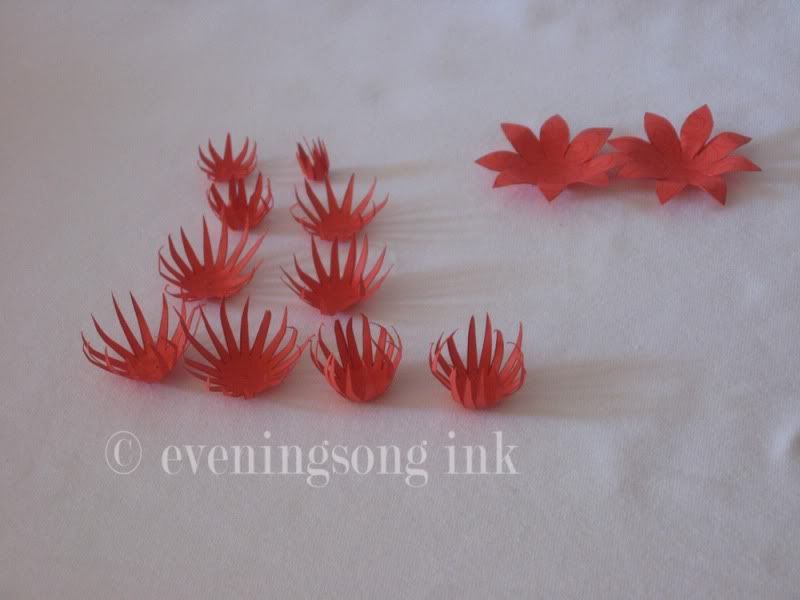
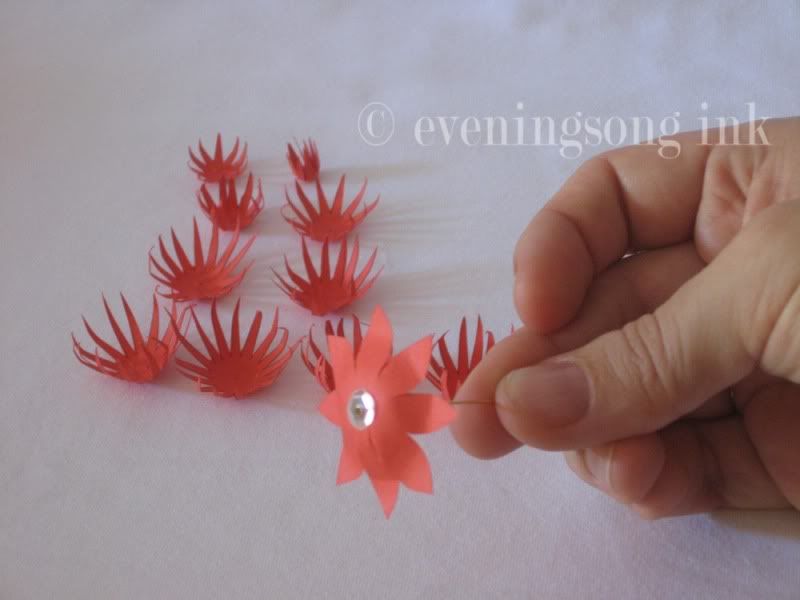
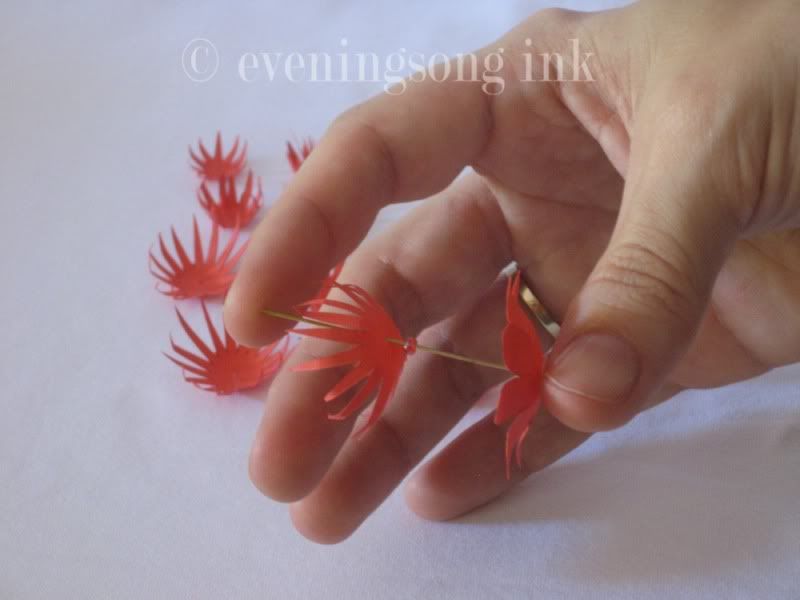
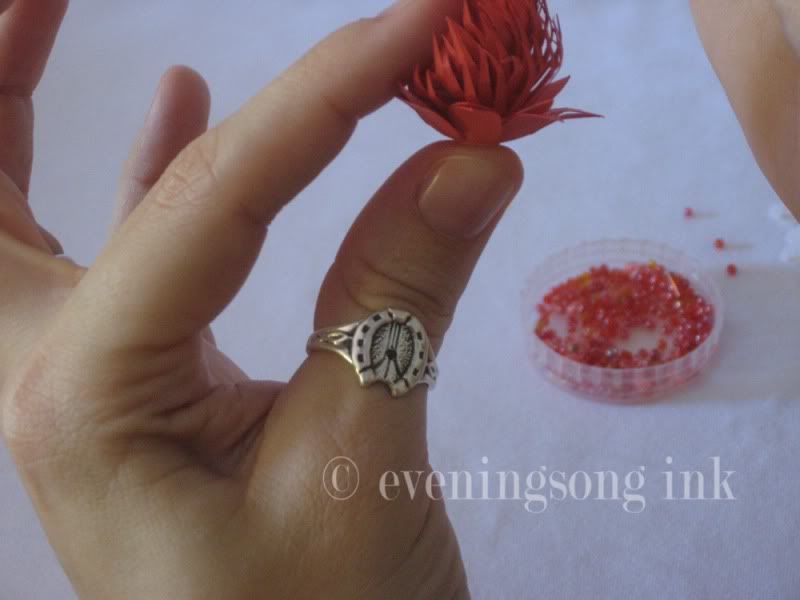
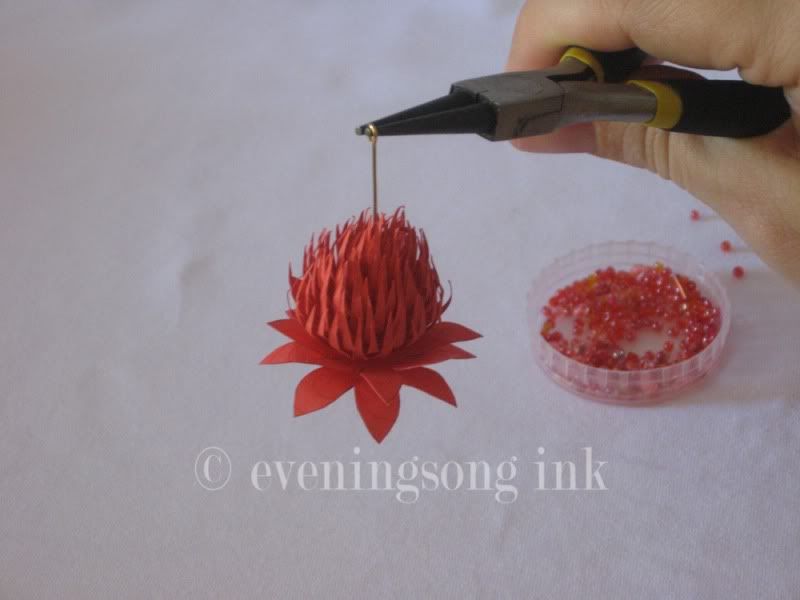
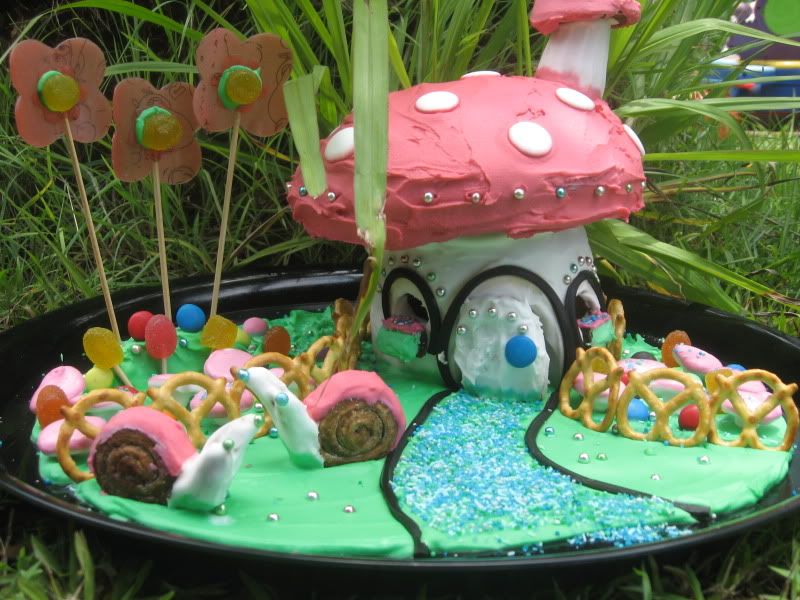
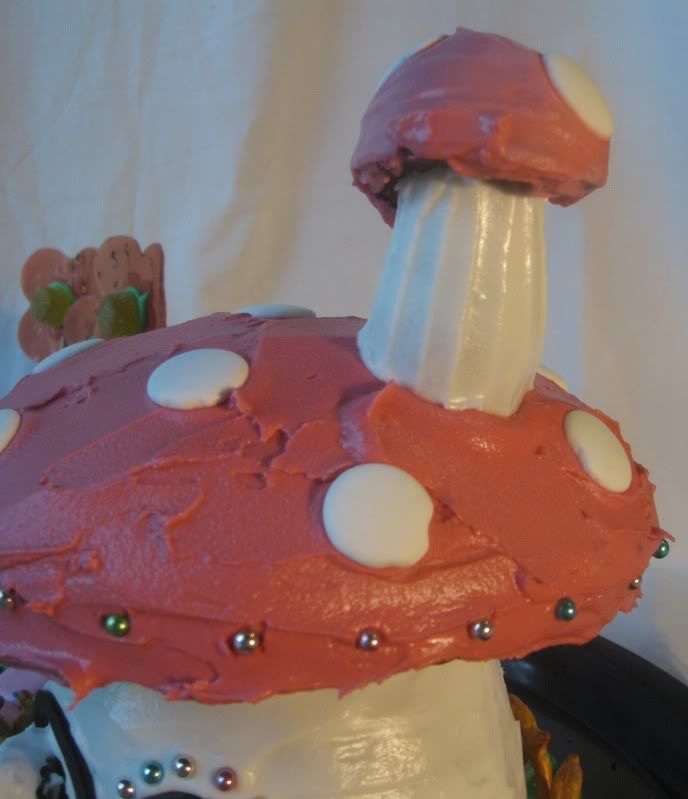
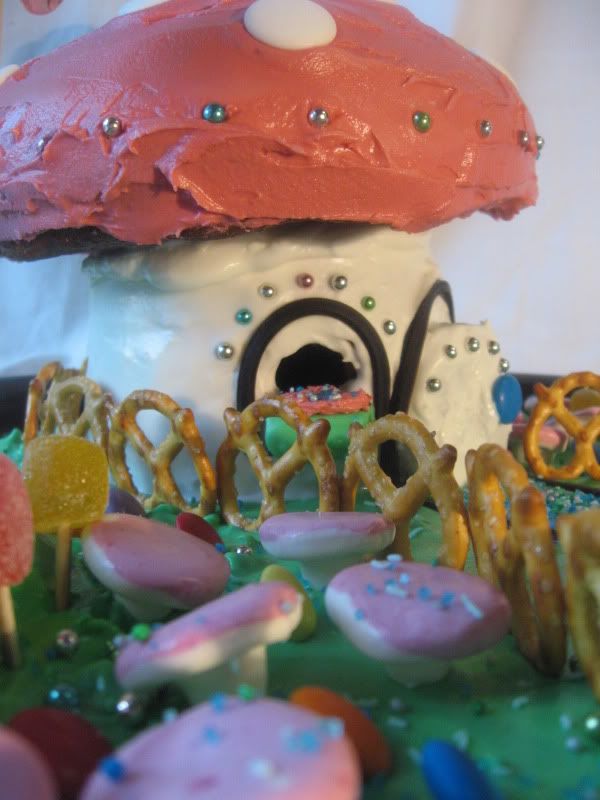
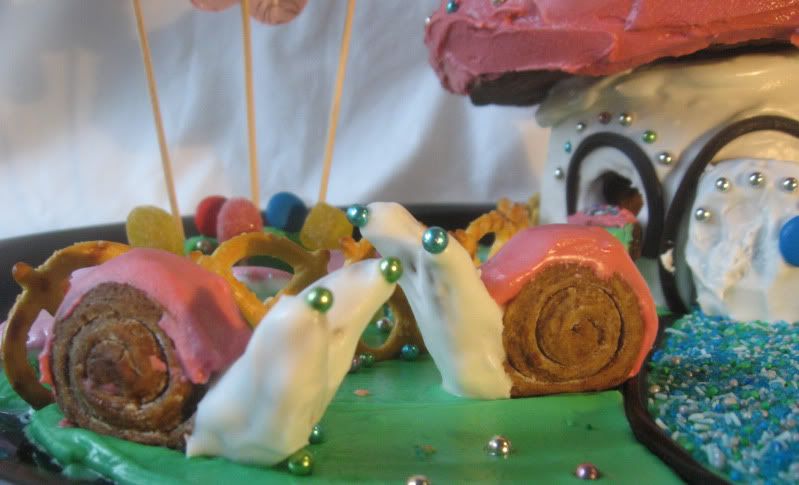
As a result, I did feel crappy today (thanks little son for sharing your Kindy germs...) but i got stuck into my idea for my Australia Day craft and its turning out pretty good. I didn't get to everything on my list, but that is what tomorrow is for. I will do it, I will feel proud of myself and I will enjoy the feeling.

Get out there today, do that thing you planned on and let yourself achieve something. Pat yourself on the back, smile in the mirror and plan your next achievement for tomorrow. The days are rushing away so quickly now that you need to slow them down and fill them up with stuff, stuff you can look back on at the end of the week and list the things you achieved. Be one of those annoying smiling people who can do everything they set out to do so your friends can go on about how they wish they had time to get that sort of stuff too if it weren't for - fill in the blanks - . :D


Be happy.


Thursday, January 21, 2010

Good Intentions

I had such good intentions at the start of the year. I was going to blog every day, I made a list of the tutorials I planned to post, I was going to promote my links everywhere I could and garner a fabulous following thus enabling me to open an outstanding online store that would always be sold out due to such great demand.

Then the doubts set in.

Could I really do this? Am I good enough? Is my work really desirable? How can I get enough traffic to my sight to really make a difference?

I panicked, I avoided my blog and I went into hiding.

Then I realised that it doesn't matter if I blog to thin air. Who cares? So what if it takes time to find people actually interested in my ramblings? To hell with everything, the only person I can possibly fail is myself and that is by doing nothing.

I will heartily admit that I suck at failing. I am not graceful, I do pout and I am my own worst critic. But you know what? It's not me I need to convince, it's all of you (assuming you are there). Enough people have given me positive feedback that I need to bite the bullet and get on with it.

Even my tarot cards tell me that.

Over and over and over.

If it is possible to piss off guides with repetitiveness I sure am on my way.

So here we go. Bring it on world, here I come.

Tuesday, January 5, 2010

Green and Gold - acrylic on canvas

I live on the Gold Coast in Queensland, Australia. Most people just think of the beach when considering my home town; don't get me wrong, our beaches are lovely, but not nearly all we have to offer. Within half an hour either of each other are the bright blue and gold beach and the lush sub-tropical rainforest. I love that! Also, our wildlife is spectacular.

A few years ago now the local council had a debut competition - artwork of any medium that must represent the gold coast. Entrants would go into an art show and the winner would have their piece used in promotional material for the Gold Coast.

My husband and mother got spiffed up with me, all excited and eager to see my work in it's first ever art show. We get to the venue, "where on earth is my piece??" I asked my husband. We looked around and found a staggering array of artwork, many pieces completely figurative and certainly not representative of the Gold Coast, but apparently belonging to the airy, over-dressed and fluffed up 'artists' floating around.

We asked the people on the door what was going on, nearly in unison with a gaggle of other left out artists. The response was, there had never been a guarantee that all work would be displayed (*cough*bullshit*cough*) and they were very sorry. Obviously put on the spot and without any power to choose which pieces to display, the staff at the door were nonetheless made the scapegoats. Many local artists quietly voiced their extreme displeasure that night, particularly when questions about the obvious lack of adherence to the brief many of the displayed pieces advertised.

The shamefaced staff did their best to appease all but it was quite obvious the organisers of the event had not even read their competition entry rules and handed the reins over to self-important local artists with little talent but plenty of connections. It was what a Sopranos fine art mafia competition would be I guess.

One of the works was a photograph of high heeled shoes on the sand. Hmmm.. yep, that represents the Gold Coast.

When we went to pick up my painting there were once again many unhappy artists and the staff were quite obviously sympathetic to the fact that we had, indeed been promised a display but had been left out at the last minute. When I went to my piece and my mother 'quietly' mentioned how so many of the pieces did not meet the brief but mine had, the lady at the counter looked quite embarrassed and was noticeably surprised when I took possession of my work. She commented how well my work represented the Coast and inquired about my age, the answer seemed to surprise her since I was about 23 at the time.

Anyway, I have a work of art I am proud of and my mother refuses to relinquish hold of, lol. I can comfort myself in the fact that the winning entry of a common photo of Surfers Paradise beach would never stick in the minds of viewers like my Green and Gold will.


So, as a homage to my town you have 'Green and Gold' Acrylic on canvas, completely handmade. Even the frame. Size approx 120 cm x 60 cm.


Left side: the Natural Arch. A natural bridge of stone carved from eons of water, about 30 mins from me in the Springbrook National Park.


Middle: Rainbow lorikeet. Local and sometimes annoying little buggers. Can be found everywhere - beach to rain forest. Yes, you can have them as pets but only from registered breeders and NOT from the wild (as some people do)


Right side: 'The Spit' surf beach famous for its enormous sand pumping jetty reaching far out into the sea and where many a fisherman has spent long hours trying to catch something brag-able.


The scene is a blend of the best of the Gold Coast's environment and includes natural and man made phenomena. Bringing the two halves together is a native parrot flying from the shady confines of the rain forest to the buffeting expanse of the surf.


Let me know your thoughts.

Saturday, January 2, 2010

December craft challenge entry. Gingerbread toadstools and spicy snails

Ok, so when I first saw this challenge advertised I had two questions.

1. What type of house could I make that is out of the ordinary (kinda like me)?
2. How the hell do you make a gingerbread house?? :D

This is my first ever gingerbread anything, except for cookies. I have not even tried a kit, so if I broke any cardinal rules of gingerbread house making, I apologise.

I made sure to fit the bill for this challenge: the walls, ceiling and toadstool roof are all gingerbread, as is the little second storey toadstool. The snails are gingerbread and the garden is royal icing, Smarties, Jubes jellies, Roll-up flowers and pretzel fence.

The highest point is about 22cm (9 inches) so it is a little small.


Toadstool-y goodness


Left side (note the adorable raspberry mushroom candies! DH's lucky find for me.)


Right side


Snails with cachous eyes


Proof of gingerbread innards ;)


Gratuitous artsy shot.

Just to defend myself, it IS supposed to be slanted, just like a real toadstool ;D.

Since I was a gingerbread novice I treated this like a sculpture/cake decorating project. I found a good gingerbread recipe online and started by using some dishes and alfoil as moulds to put the gingerbread on. The house body, flat ceiling, toadstool dome and little toadstool body and dome are all results of moulding gingerbread dough around various objects for baking. Secured together with the traditional royal icing I think it fits the bill pretty well.

Here are the other entries.

There are some really great entries but I still believe my design was pretty damned innovative. I kept to the brief and had walls and roof from gingerbread, all the parts were edible and the major design feat WAS the gingerbread house, not the decorations around it. But hey, I'm biased :D.