Showing posts with label Swap. Show all posts

Tuesday, May 17, 2011

New swap!

This little guy has been driving me nuts over the past few weeks.He complains, he knocks his jar off the bench, he tries to eat passing souls.

Quite frankly, I have grown so weary of his incessant whinging that I have come perilously close to squishing his fuzzy imp body. Luckily, I was partnered with an imp-wielding warlock in the World of Warcraft OTT (one tiny thing) swap. She has happily taken him off my hands to help keep her focused during raids.


Polymer clay over wire armature, acrylic paint, faux fur, marker, wire.

Sunday, February 21, 2010

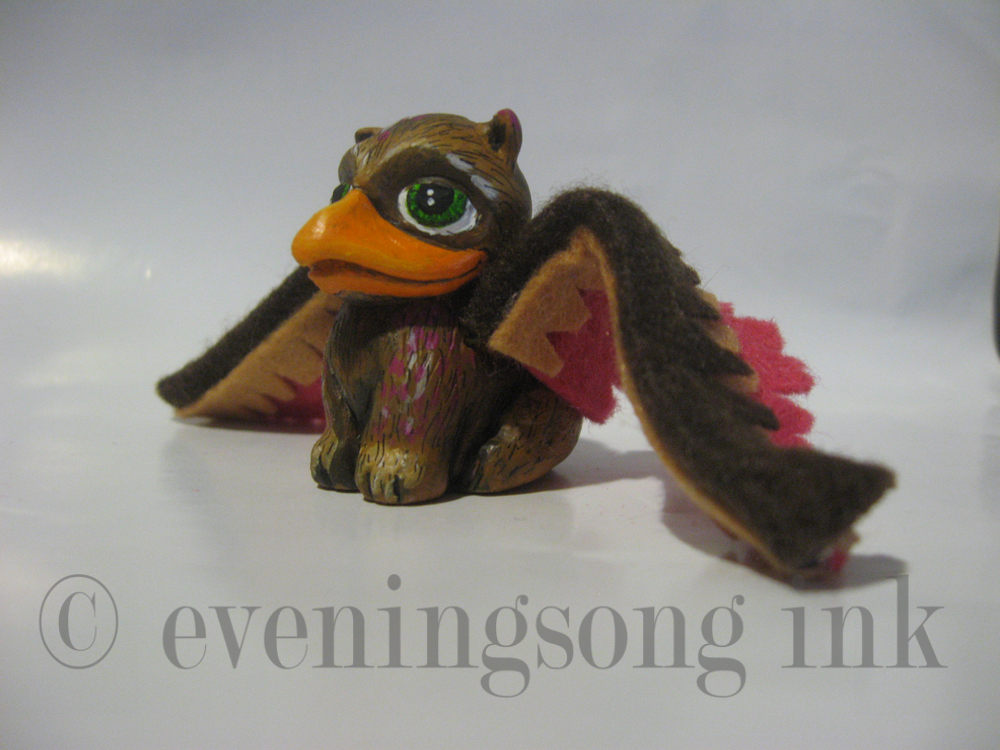
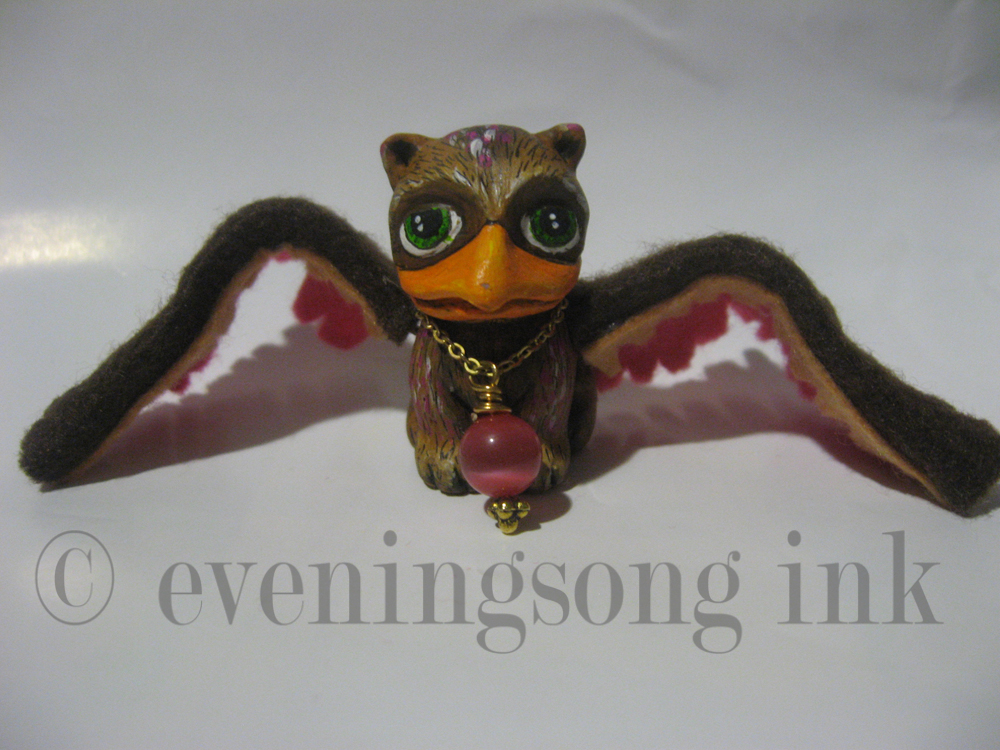
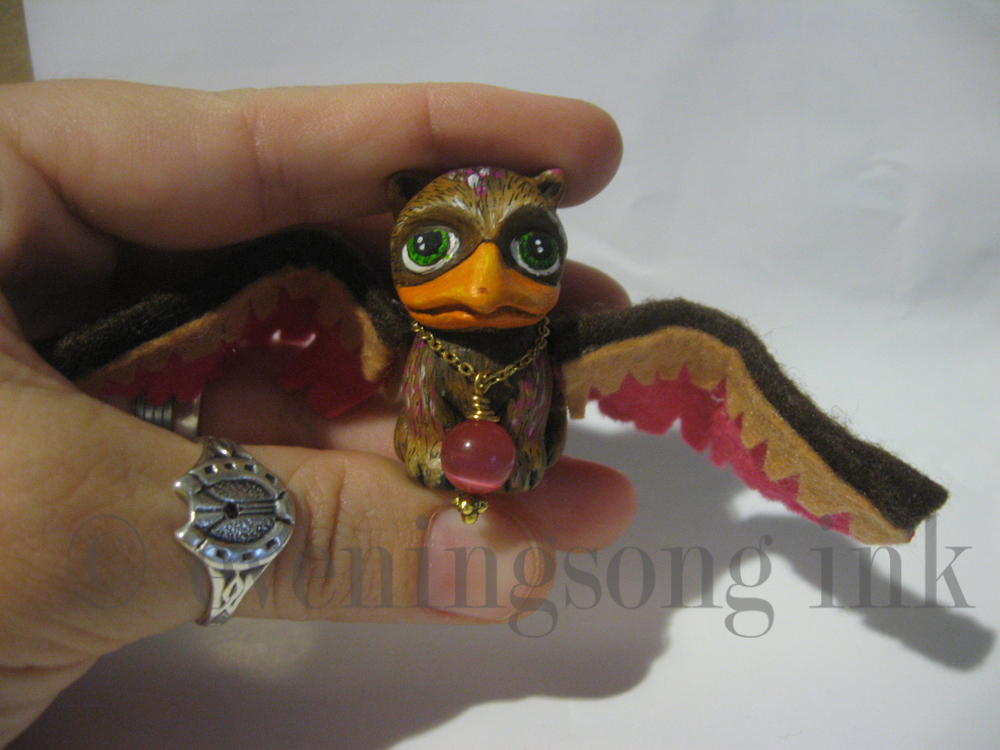
My latest tiny Griffon

This little griffon is a girl, I haven't named her since she is a gift for a fabulous friend who gave me a pushbike.

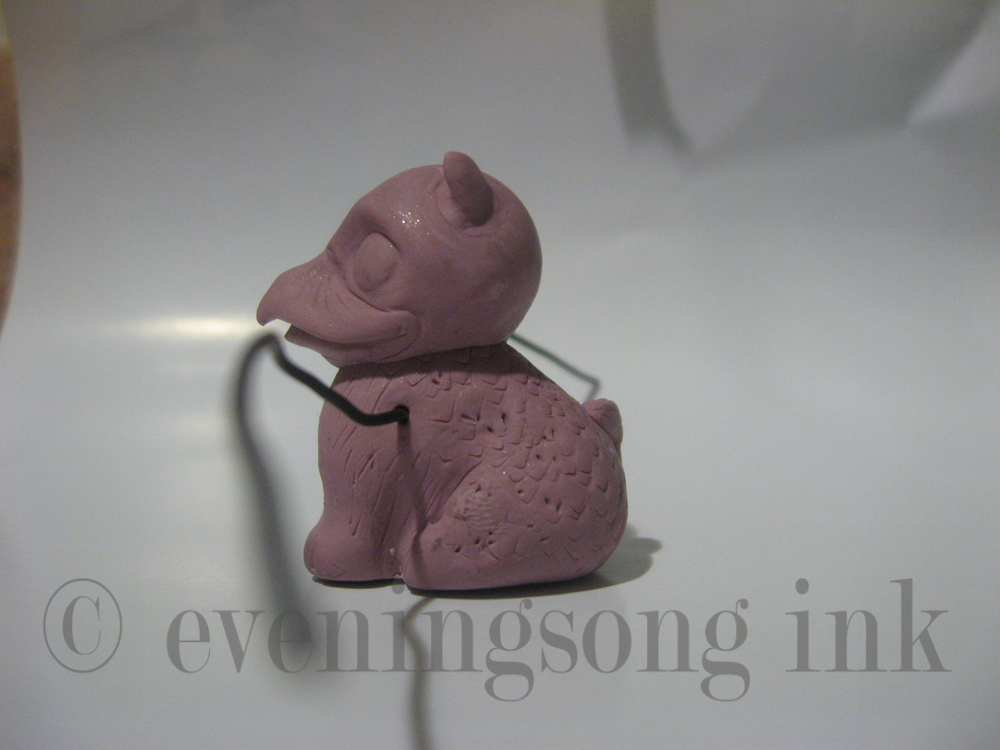
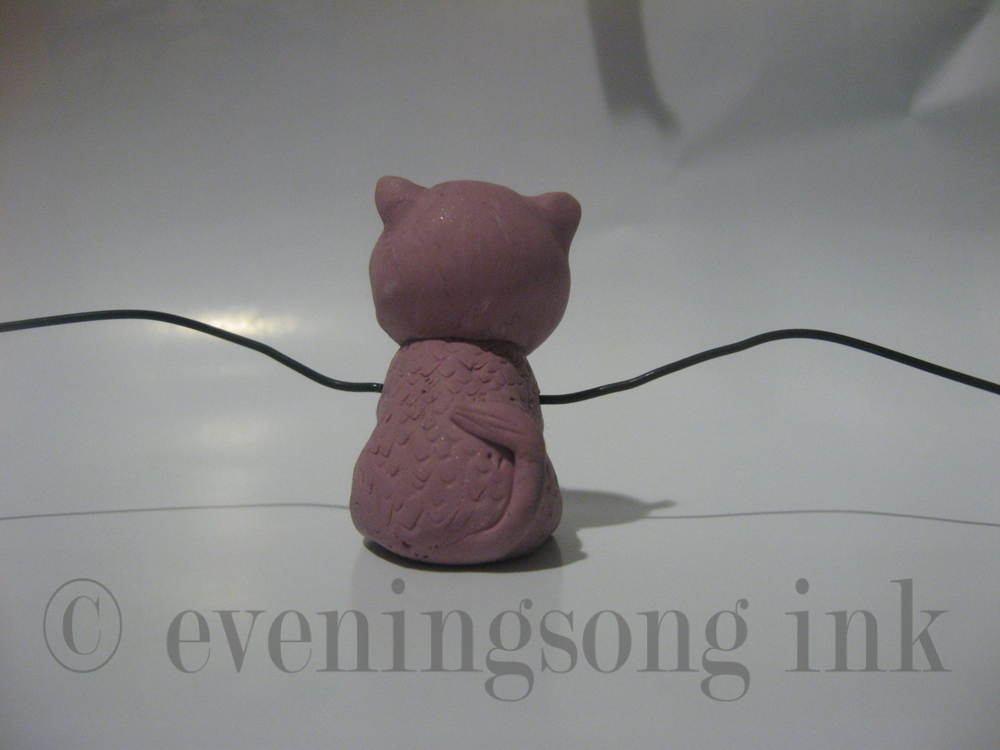
I have included some before-paint pics too so you can see her naked :D.


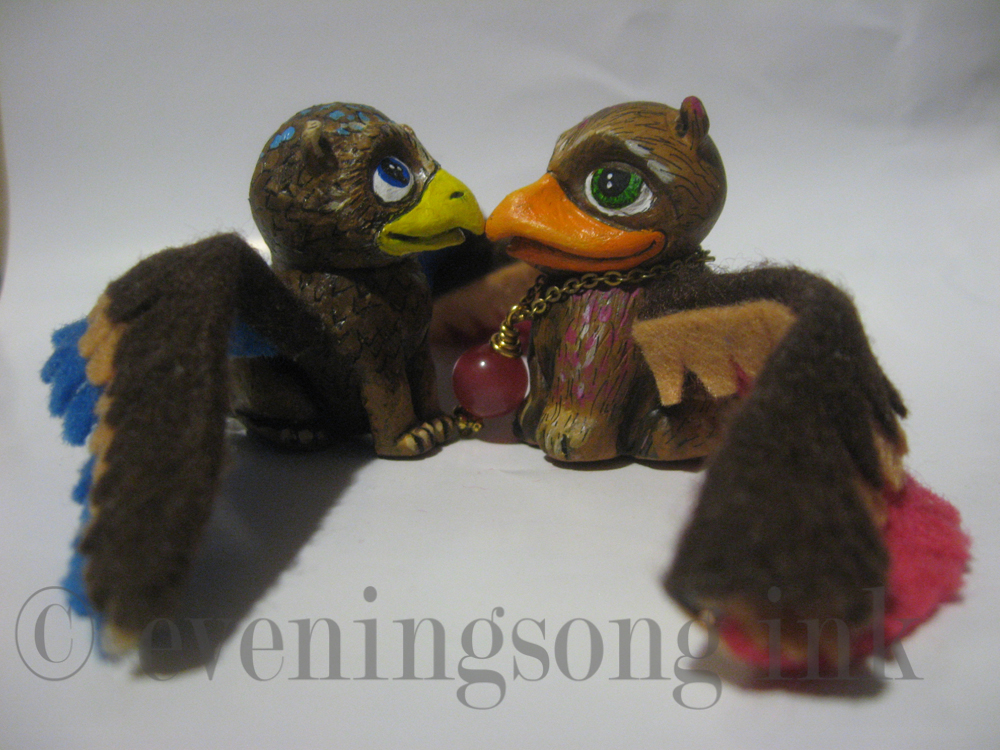
To show scale


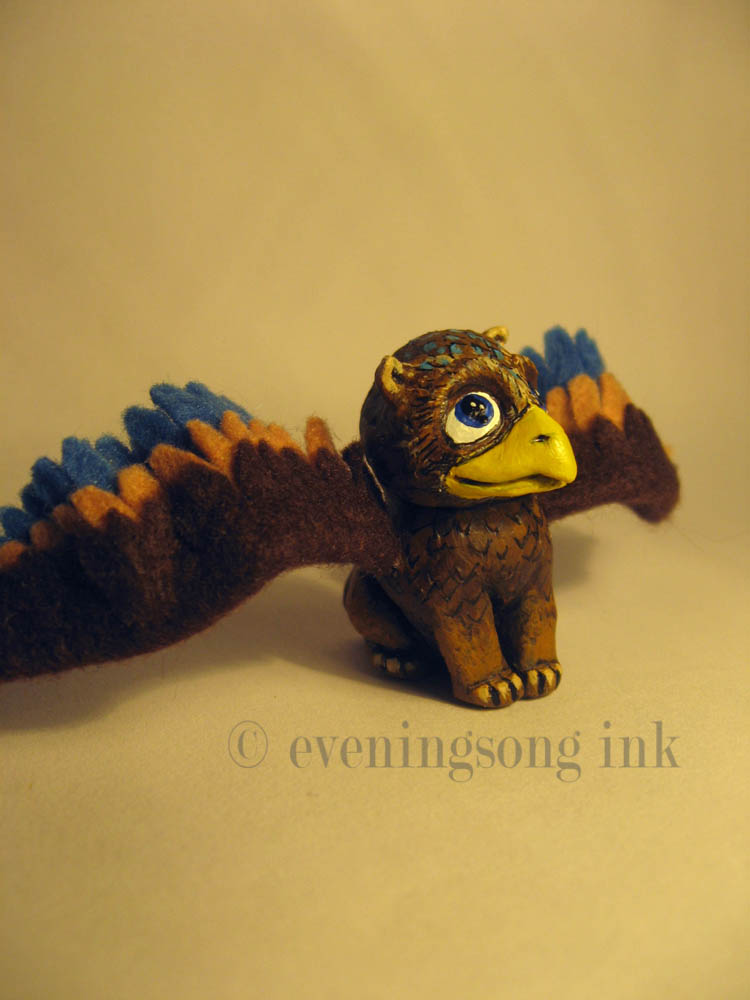
New girly griffon meeting Griff, my first tiny griffon sculpture. Awww.
She is polymer clay (mix of Fimo and Sculpey III), wire, acrylic paint, felt, chain and a cats-eye bead. I am quite happy that I could recreate the style of my first griffon. She is definitely different though, a little chunkier for one, but try not to mention it to her face,

Monday, February 8, 2010

My new wheels!

My outstanding friend and co-worker Carole is going to give me her bike! Yay! I have never seen it but it's purple :D and that is all I need to know.

Now I need to make her a thank you gift, she loves my little Griff so I was thinking of a gift involving something similar.


This is an amazingly generous gift and such a great surprise. I was going to op-shop a bike but this way I get a great girly bike in a fabulous colour and I know it has been taken care of.
I can't wait to post some pics and get stuck into pimping my ride!

Sunday, January 31, 2010

My offerings for the Inchie swap

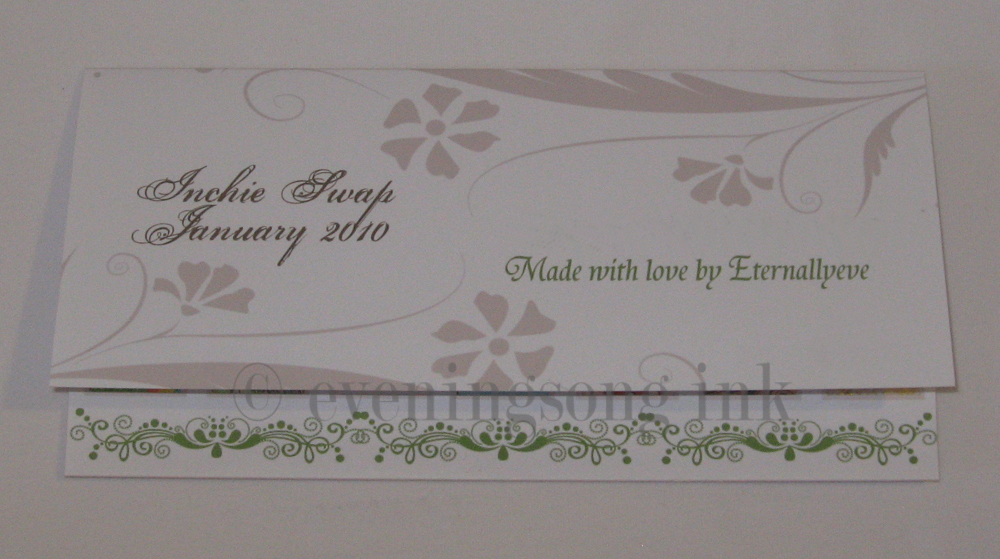
I joined my first Inchie swap earlier this month and sent out to my partners last week. It was a lot of fun, though I was nervous at the beginning since I really didn't know what I was doing.

Don't know what an inchie is? Check out this link.


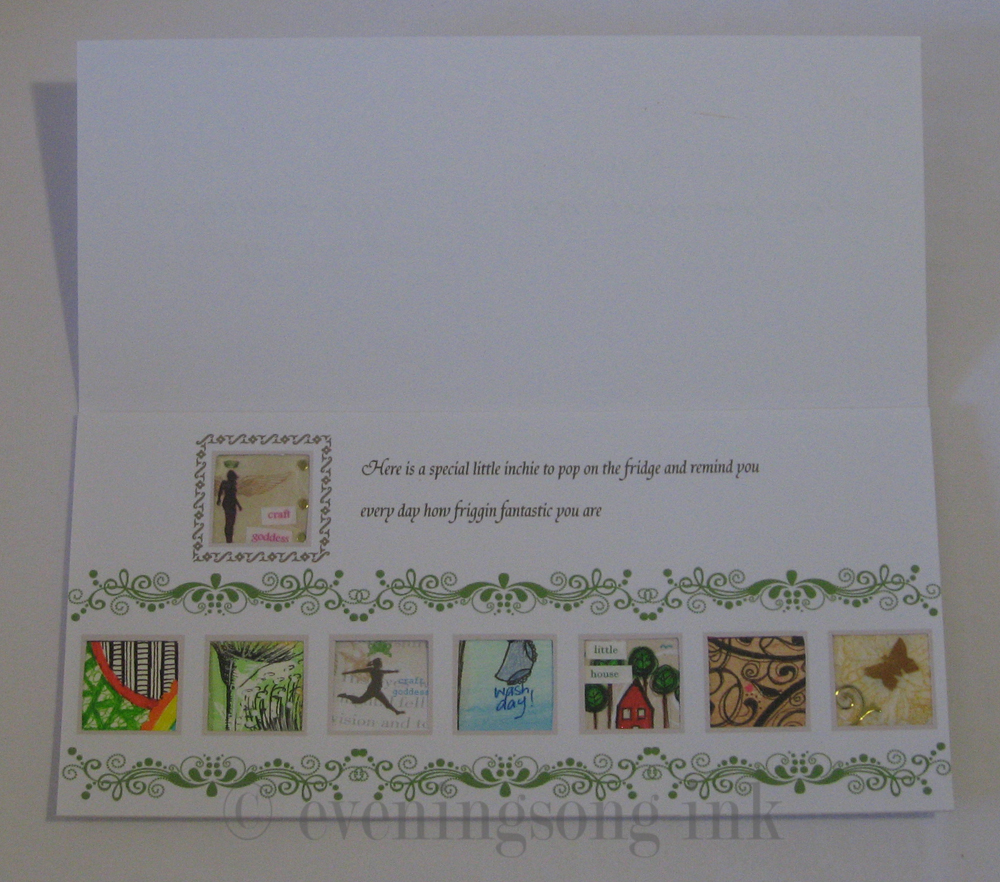
We were all in groups of 8, so we each made 7 sets of 7 inchies to send to each person.

I approached my inchies like tiny works of art. And really, and inch is pretty freaking tiny when you are trying to draw. I did a few sets of continuous art, broken up into squares and a few sets of individual inchies that fit together in a theme. I like continuity, I like repetition and I love how each person I swapped with now has a part of a larger piece of art, shared with like-minded people.

I am a totally sucker for customised packaging. To the point that I am considering posting a cutom packaging design service when I open my online stores.

Here are the envelopes I printed out, just a piece of heavy computer paper (210gsm).


The inside:

I cut out each little square and the inchies are stuck between the folds of paper with a little blu-tack. A custom design also gave me the opportunity to make a special frame for my little bonus, a magnet inchie to pop on the fridge.

With all of my swaps I like to send out a little extra, a practice I intend to follow into owning a store. Little surprises can be really inexpensive but leave a wonderfully happy feeling with the recipient. In a swap situation it makes you both feel happy about giving and receiving something special and in a business perspective it gives added value and leaves a really good impression in the buyer's mind.

I am pretty pleased with the results, those little pieces of art are quite addictive.

Wednesday, December 30, 2009

Front lace-up crochet knee socks - tutorial

I participated in a craft swap where my partner had wisted a pair of lace-up knee socks. The design was very basic and I had seen many variations around but none that had proper heel shaping or a comfy toe. I made up this pattern as I went along - with much trial and error - and am really pleased with the result.

Bear in mind I am not a professional crochet artist nor am I very experienced in writing patterns for others. What makes sense to me may not make sense to someone else so let me know if you have any queries.


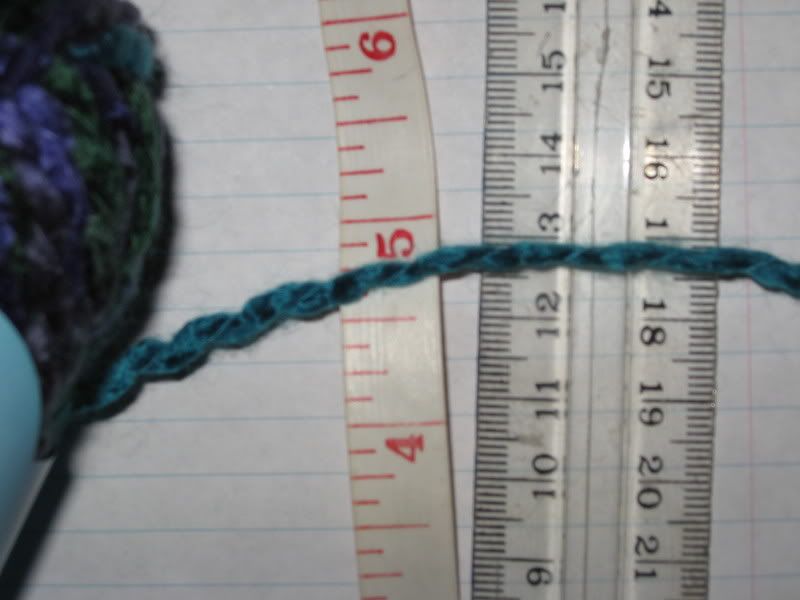
This is the yarn I used, a basic yarn from a discount store. I have idea what to call it but I hope it helps :P


the cuff says:
10x10cm = 18 rows and 13 stitches. 7mm/2 UK needles

Crochet pattern – intermediate

Yarn – open to suggestion, the first row you crochet goes from the top of the sock to just before the toes so add or subtract stitches accordingly

Starting on one side of the laces


1. ch 59. sc in 1st st from hook. Sc to end, ch 1 and turn

2. repeat (1.) for another 7 rows

Heel shaping, side 1


3. sc in the next 16 sts. 2 sc in the next st. sc to end, ch 1 and turn

4. sc in the next 41 sts. 2 sc in each of the next 2 sts, 16 sc to end. Ch 1 and turn

5. sc in the next 16 sts. 2 sc in each of the next 4 sts, 41 sc to end. Ch 1 and turn

6. sc in the next 43 sts. 2 sc in each of the next 4 sts, 18 sc to end. Ch 1 and turn

7. sc to end, ch 1 and turn

8. repeat (7.) for another 4 rows

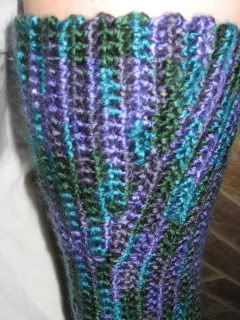
Calf shaping


9. sc in the next 5 sts. 1 sl st, ch 1 and turn. 5 sc to end, ch 1 and turn

10. sc in the next 10 sts. 1 sl st, ch 1 and turn. 10 sc to end, ch 1 and turn

11. sc in the next 15 sts. 1 sl st, ch 1 and turn. 15 sc to end, ch 1 and turn

12. sc in the next 20 sts. 1 sl st, ch 1 and turn. 20 sc to end, ch 1 and turn

13. (should be 69) sc to end, ch 1 and turn

14. sc to end, ch 1 and turn

15. sc in the next 20 sts. 1 sl st, ch 1 and turn. 20 sc to end, ch 1 and turn

16. sc in the next 15 sts. 1 sl st, ch 1 and turn. 15 sc to end, ch 1 and turn

17. sc in the next 10 sts. 1 sl st, ch 1 and turn. 10 sc to end, ch 1 and turn

18. sc in the next 5 sts. 1 sl st, ch 1 and turn. 5 sc to end, ch 1 and turn

19. sc to end, ch 1 and turn

20. repeat (19.) for another 4 rows

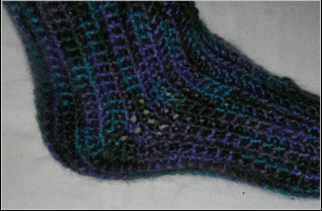
Heel shaping, side 2

21. sc in the next 18 sts. St 2 tog to decrease (repeat another 3 times). 43 sc to end, ch 1 and turn

22. sc in the next 41 sts. St 2 tog to decrease (repeat another 3 times). 16 sc to end, ch 1 and turn

23. sc in the next 16 sts. St 2 tog to decrease (repeat another 3 times). 41 sc to end, ch 1 and turn

24. sc in the next 41 sts. St 2 tog to decrease (repeat another 3 times). 16 sc to end, ch 1 and turn

25. sc to end, ch 1 and turn

26. repeat (25.) for another 7 rows

27. finish off

Toe


 ^pointing to the sides

Step 1
The toe is kind of improvised, so bear with me

1. hold the two sides of the sock together and slip stitch to join them

2. sc all the way around the edge and join to the beginning of the row

3. sc to to the side, decrease by crocheting 2 stitches together (repeat) and sc across the back and decrease again on the other side

4. sc to the centre and join

5. repeat (2. & 3.) until the toe is a comfortable length, and stitch the remaining opening closed

Tips

- For a wider gap between the laces (to show off lacing better) do fewer rows at 26. & 2.

- For smaller calves, skip steps 9. & 18.

- For longer or shorter socks, chain more or less at 1.– this will throw out the pattern slightly, but use your imagination ;P

- This size will fit a few different sized feet, the crochet stretches quite well so once you have sorted out the correct yarn, the pattern will fit most ladies’ adult feet

- Any hole will be suitable for the laces. To make more of a feature of them, choose holes about an inch or so in from the edge of the sock

- One side of the lacing will look a bit longer than the other, but will have the same amount of stitches. This is because one side began as a chain. Just tug the sides a little and lace them up and they will become even.

- Have fun and try some fancy stitching too. Some lace work on the top would be great and even trying to put the lacing on the back would be cool too.

- Normal disclaimer: Please do not use my tutorial without my permission or copy my design style for profit. Make as many of these socks for yourself and friends but please do not make them to sell or sell the tutorial. You know, crafty karma and all that.


Tuesday, December 1, 2009

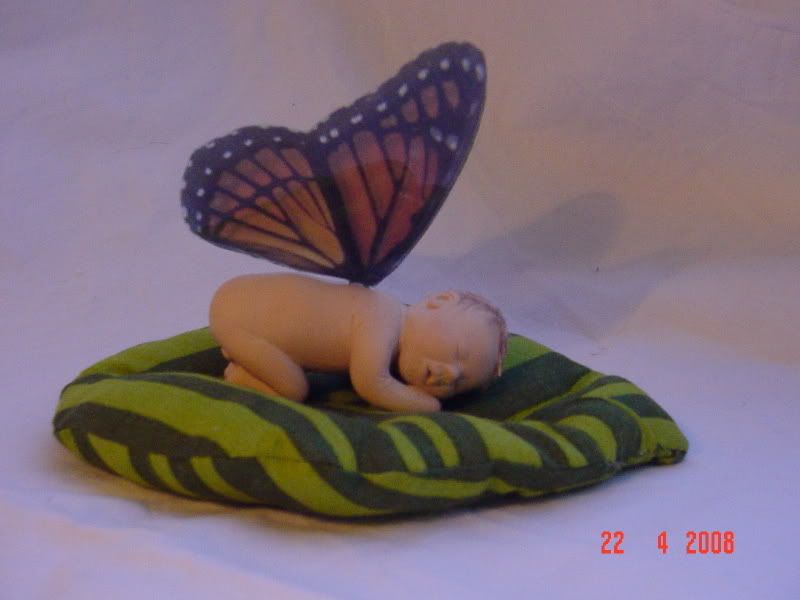
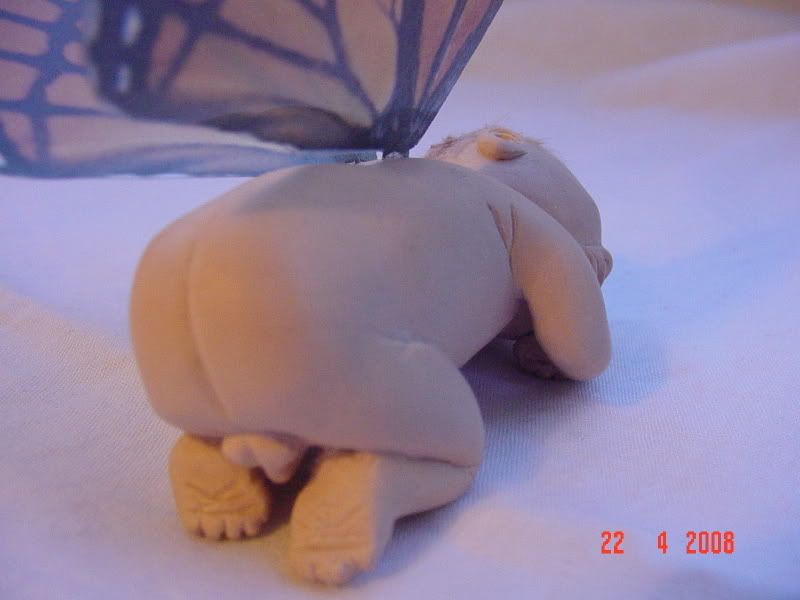
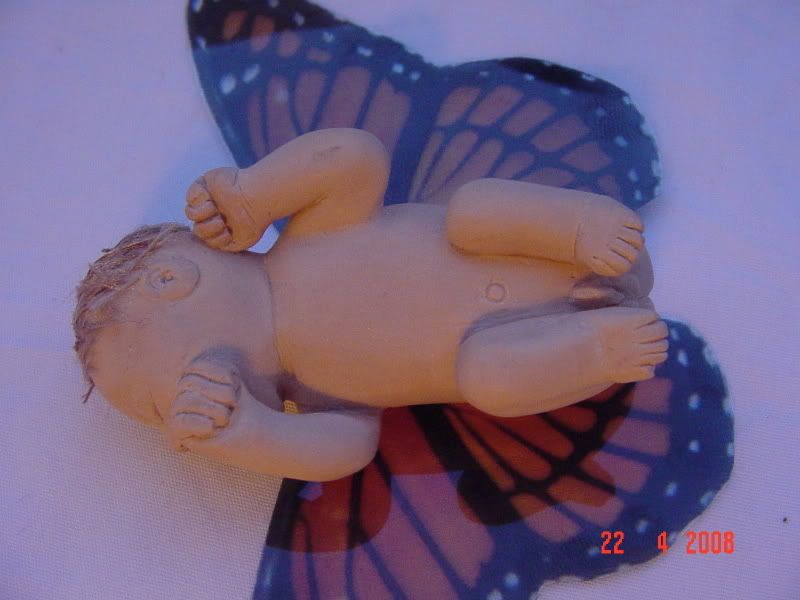
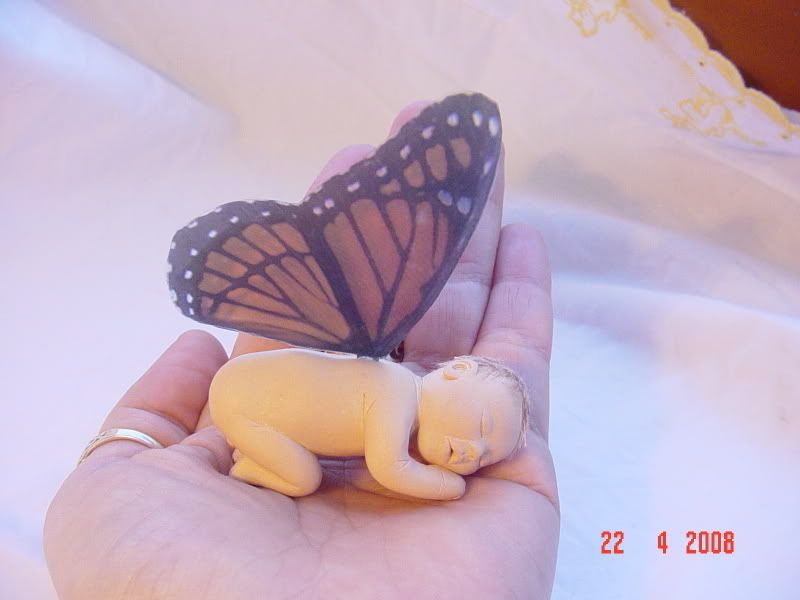
Miniature fairy sculpture

This little guy was a gift to a new friend back in 2008. He is the first life-like sculpture I have ever made and I completely fluked it :D. He is good old Sculpey III, a mix of beige, translucent and gold micak. It went ok but the Sculpey is quite stickey after working it for a while so I half-baked him, sanded and scraped him, then re-fired and sanded some more. I probably made him all wrong to proper sculptors, but he came together in the end.


Yes, this is a boy and yes, he does have boy bits so please do not keep reading if you are offended!


He is quite tiny and lies on his little padded leaf. And he is sealed only with a buffing of furniture wax. His wings are acetate photocopies cut to size and glued in after baking - I can certainly improve the finish next time I think. His hair is flutter yarn scraps attached with white glue.

In all honesty a lot of dolls freak me out and I have never been one of those people who collects figurines, but he just had to be made. I learned later that he had to go to one Craftster in particular which was a little awkward since I didn't actually know her and had to start my message with 'please don't think this is too weird, but I have something for you...'. But it all worked out and now he is living with his new mummy and daddy.

Of course, being an artist that doesn't really collect figurines I have more ideas in my head begging to be made reality. Perhaps it's a matter of these little guys want to be born and I am their outlet, if you follow my thinking...

If I do make more, I think they will all be asleep. Staring vacant eyes creep me out.