In addition to finding my voidwalker sculpture as a Featured Project on Craftster, I have also been featured in the latest edition of the official World of Warcraft magazine.
I was interviewed last year and sent through photos of my work and have been eagerly awaiting the publication. I was honoured to be one of the half-dozen WoW crafters to be chosen as featured artisans.
It's amazing how much has come out of one last minute Christmas present for my brother, I never really considered myself as a skilled sculptor but I am beginning to rethink that. Perhaps I should be flexing my sculpting muscles some more!
A special thanks to WoW magazine :D
Monday, April 18, 2011
Tuesday, March 29, 2011
Featured Project!
Surprisingly enough my humble little voidwalker from World of Warcraft has made the featured projects on Craftster! I was stunned to log on tonight and see my little guy up on the front page.
Such an honour to be named on the front page!
Friday, May 28, 2010
Gah! I forgot about the morning tea party at kindy tomorrow!! Recipe incl.
11.30 pm and I realise that X has a morning tea party at kindy tomorrow. He needs a funny hat and a plate of something. Crap...
Given that I am the worst morning person I know (well, apart from the hubby :P) I figure I better get this done tonight.
1 funny hat needed. Yeah right, getting a clothes-minded 3 year old to wear a cool hat you spent hours on is nigh impossible. The alternative? Snag husband's old black beanie and adorn with previously cut out Ben 10 fabric swatches that already have the fusible applique interfacing attached. Woo Hoo! If he doesn't want to wear a Ben 10 hat, I'll eat the damned thing.
1 plate of something yummy needed, no eggs (thanks to allergies in the kindy). Let's go the tried and true egg free cake mix that I used for Xavier's birthday cake. It's quick, easy, needs no weird ingredients and frankly it's bloody yummy :D. Darling husband gets roped into helping so I figure we should make a third of the mix chocolate and dye it black, a third vanilla green and a third vanilla yellow. Beats the hell out of making a dozen sandwiches that are likely to go soggy and I use a minimum of low-gi sugar so the little morsels are not even bad for them.
Here is the recipe:
Makes 1 large slab cake (see Lightning McQueen) or use half the mix to make 36 mini-cupcakes like the picture
I don't do anything fancy with this recipe:
Given that I am the worst morning person I know (well, apart from the hubby :P) I figure I better get this done tonight.
1 funny hat needed. Yeah right, getting a clothes-minded 3 year old to wear a cool hat you spent hours on is nigh impossible. The alternative? Snag husband's old black beanie and adorn with previously cut out Ben 10 fabric swatches that already have the fusible applique interfacing attached. Woo Hoo! If he doesn't want to wear a Ben 10 hat, I'll eat the damned thing.
1 plate of something yummy needed, no eggs (thanks to allergies in the kindy). Let's go the tried and true egg free cake mix that I used for Xavier's birthday cake. It's quick, easy, needs no weird ingredients and frankly it's bloody yummy :D. Darling husband gets roped into helping so I figure we should make a third of the mix chocolate and dye it black, a third vanilla green and a third vanilla yellow. Beats the hell out of making a dozen sandwiches that are likely to go soggy and I use a minimum of low-gi sugar so the little morsels are not even bad for them.
Here is the recipe:
Makes 1 large slab cake (see Lightning McQueen) or use half the mix to make 36 mini-cupcakes like the picture
- 4 cups of plain flour
- 2 cups sugar
- 3 1/4 cups cocoa (reduce if you make multi-coloured cakes or omit for a vanilla or flavoured cake)
- 8 tsp baking powder
- 3 tsp vanilla essence
- 1 cup vegetable oil - I use rice bran oil. It's light, good for you and has no flavour. I have also used olive oil, you do not taste the oil in a chocolate cake but I would avoid it for a lighter flavoured cake.
- 3 cups water
I don't do anything fancy with this recipe:
- Pop all the dry ingredients into a large bowl and mix a little
- Add all the other ingredients and mix well (for multi-coloured cakes separate your mix into batches before adding the cocoa to one batch only)
- Put mix into cupcake liners/trays/cake pan (grease pans of course, unless you use silicone trays)
- Bake at 170-180 Celsius for about 30 minutes for a single slab cake, approximately 15 minutes for the cupcakes. This will vary between ovens so check your cakes periodically, cakes are cooked when the tops spring back after gently touching them.
- Drizzle with a little icing and away you go!
Thursday, May 6, 2010
A 3rd birthday, already??
My amazing little boy is growing up. We celebrated his 3rd birthday on Wednesday with a Lightning McQueen cake (edible icing images make a time-poor mum very happy) and party at kindy and presents at home that night.
The poor little guy has been sick for the last week, first a cold and then horrible wheezy asthma that always makes me nervous. So birthday time was a relaxed family night at home where he opened his little gifts and was totally thrilled with the train/car set we got him.
I stumbled across a fantastic wooden train and car set at an op-shop complete with track, roads, vehicles, houses and boom gates. And the most amazing bit? It was five bucks. Yep, that's right. And that included the great plastic tub with wheels that it was kept in. X loves it to bits and even wanted to stay home today to play with it. Given his obsession with kindy and his desire to go every single day, that was quite a complement for the gift!
I also finished a quilt cover which you can see at the bottom of the picture. I have been meaning to make a quilt for him since he was born but I am not very experienced. I made him a quilt cover instead for a standard single doona - which will dry quicker after washing during the chilly winter - and he loves it. I will post pics asap.
The poor little guy has been sick for the last week, first a cold and then horrible wheezy asthma that always makes me nervous. So birthday time was a relaxed family night at home where he opened his little gifts and was totally thrilled with the train/car set we got him.
I stumbled across a fantastic wooden train and car set at an op-shop complete with track, roads, vehicles, houses and boom gates. And the most amazing bit? It was five bucks. Yep, that's right. And that included the great plastic tub with wheels that it was kept in. X loves it to bits and even wanted to stay home today to play with it. Given his obsession with kindy and his desire to go every single day, that was quite a complement for the gift!
I also finished a quilt cover which you can see at the bottom of the picture. I have been meaning to make a quilt for him since he was born but I am not very experienced. I made him a quilt cover instead for a standard single doona - which will dry quicker after washing during the chilly winter - and he loves it. I will post pics asap.
Tuesday, May 4, 2010
mmm... silversmithing
I finished my class for silver jewelery in April and I am so happy with the results. It was a great 3 Saturdays in a row kinda thing and I got to brush up on the skills I learned back in 2003 as well as learning new things.
We made a wedding band style ring, a linked chain bracelet and solid cuff bracelet. I also got to fix my thumb ring which had split.No fancy pre-made stuff for our class, we started from scratch with silver plate and wire and worked it into wearable jewelery.
I now have my table and tools set up so I can start making jewelery for a new store. I have some mixed media pieces designed; resin and sterling handmade cameos from my own custom sculptures and miniature prints of my artwork encased under clear resin with sterling silver frames to begin with. Once these are sculpted, moulded and made I will move onto etching metal sheet with my black and white drawings.
All of my jewelery with be based around my artwork; making it wearable, useful and beautiful. This way if you a love a piece enough to hang it on your wall, you can carry a little piece with you as a pendant, brooch or earrings. I want my art to evoke feelings in my customers, if my work reminds you of something great or makes you smile, why not take it with you so you can look at it through the day?
So, the class got me back into gear after a few months of scaring myself silly with 'what ifs'. Ok world, I'm ready.
Let's do this.
We made a wedding band style ring, a linked chain bracelet and solid cuff bracelet. I also got to fix my thumb ring which had split.No fancy pre-made stuff for our class, we started from scratch with silver plate and wire and worked it into wearable jewelery.
I now have my table and tools set up so I can start making jewelery for a new store. I have some mixed media pieces designed; resin and sterling handmade cameos from my own custom sculptures and miniature prints of my artwork encased under clear resin with sterling silver frames to begin with. Once these are sculpted, moulded and made I will move onto etching metal sheet with my black and white drawings.
All of my jewelery with be based around my artwork; making it wearable, useful and beautiful. This way if you a love a piece enough to hang it on your wall, you can carry a little piece with you as a pendant, brooch or earrings. I want my art to evoke feelings in my customers, if my work reminds you of something great or makes you smile, why not take it with you so you can look at it through the day?
So, the class got me back into gear after a few months of scaring myself silly with 'what ifs'. Ok world, I'm ready.
Let's do this.
Thursday, February 25, 2010
A new logo for me!
I finally got around to designing myself a logo. I wanted something that represents that I am an artist (the paintbrush and pencil) and that I am predominantly influenced by whimsy, nature and myth (the floral flourish, poppy and moth silhouette).
I chose orange as it is one of the colours of my favourite little friend, the orange banded tiger moth (the silhouette shape) who often visit me at home when I am feeling conflicted or down. I paired it with green, one of my favourite colours, which makes the design a little extra nature-ish I think.
What do you think?
Sunday, February 21, 2010
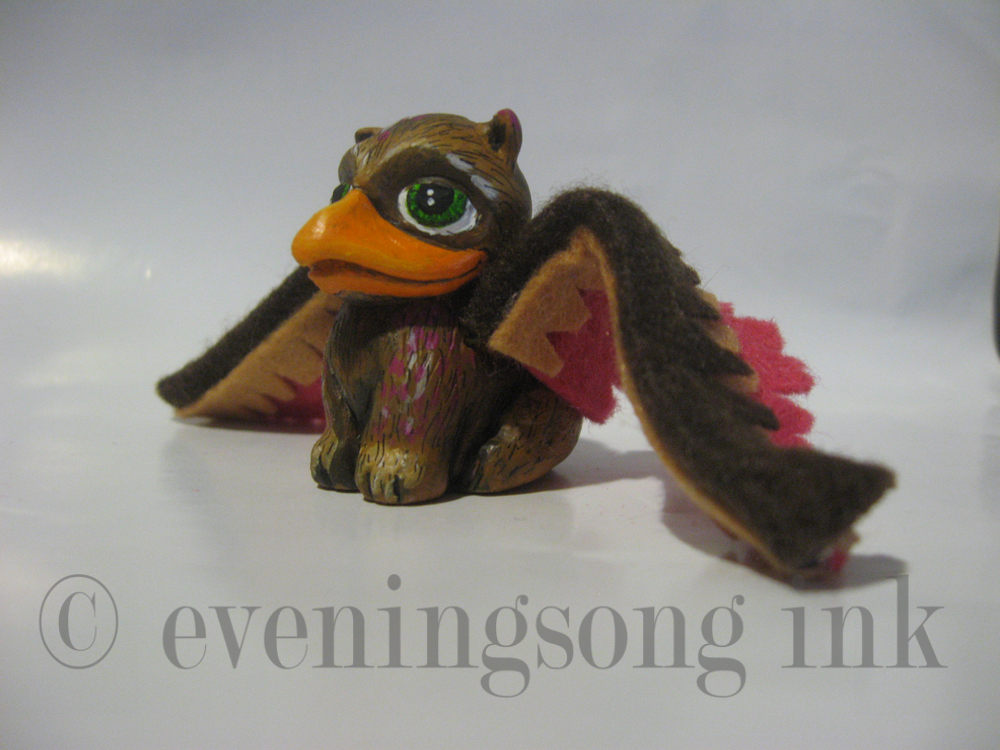
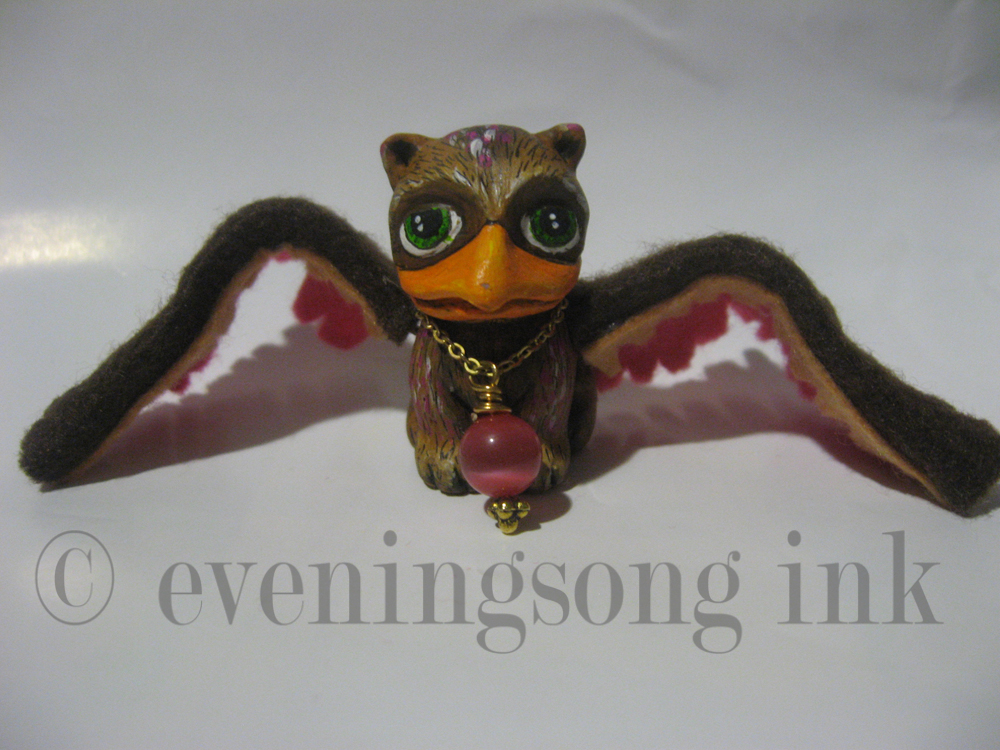
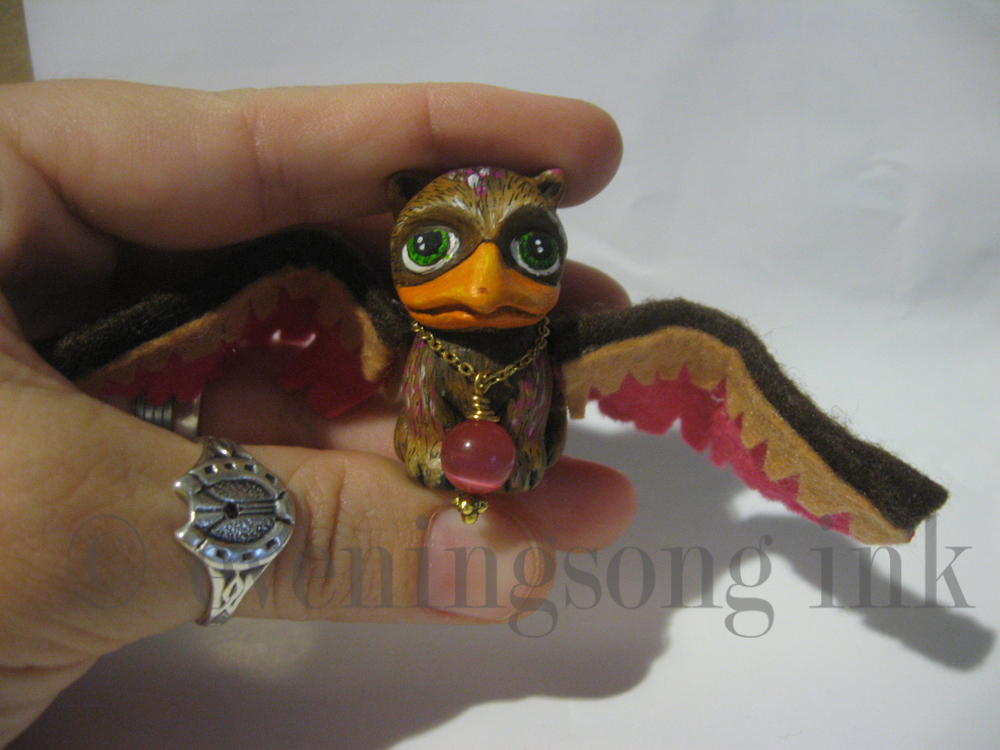
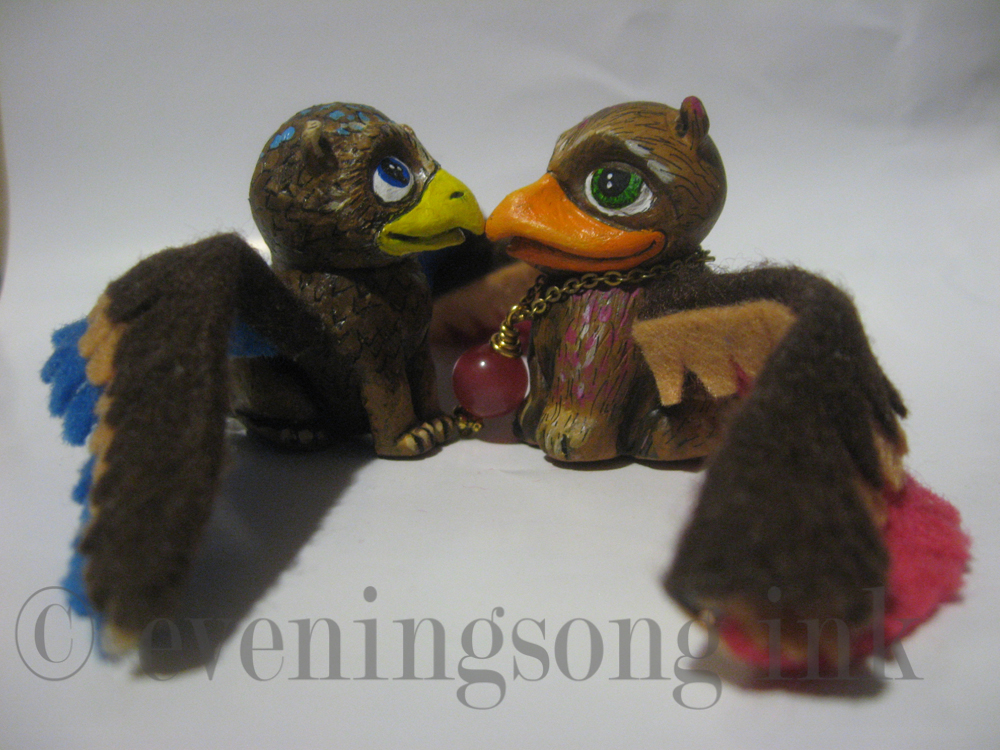
My latest tiny Griffon
This little griffon is a girl, I haven't named her since she is a gift for a fabulous friend who gave me a pushbike.
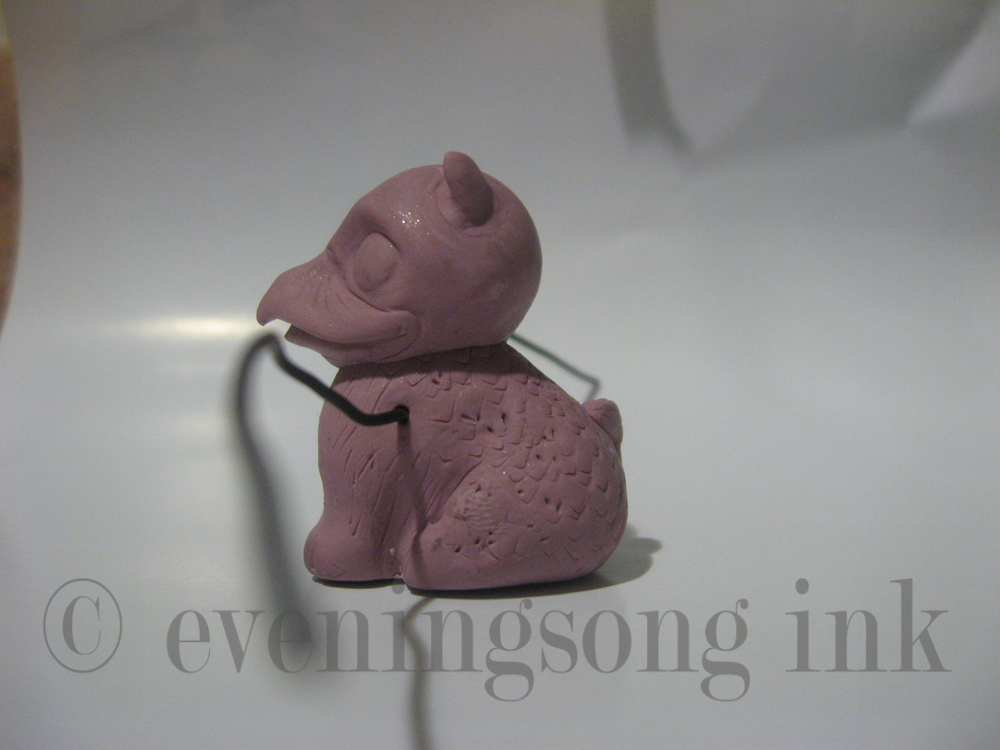
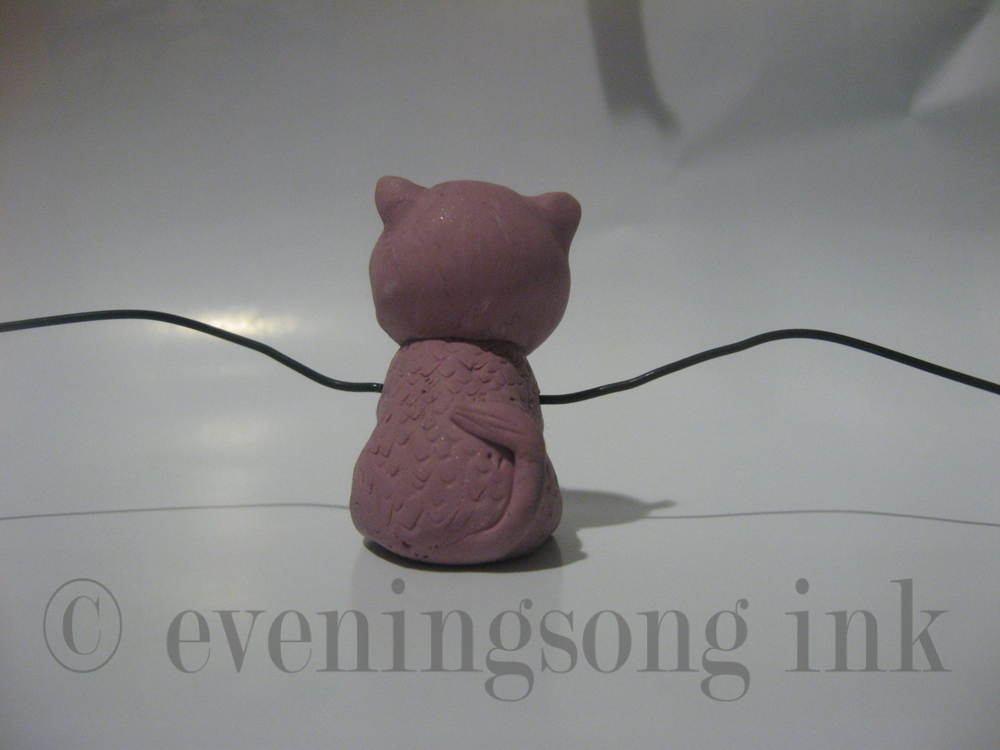
I have included some before-paint pics too so you can see her naked :D.

I have included some before-paint pics too so you can see her naked :D.
To show scale
New girly griffon meeting Griff, my first tiny griffon sculpture. Awww.
She is polymer clay (mix of Fimo and Sculpey III), wire, acrylic paint, felt, chain and a cats-eye bead. I am quite happy that I could recreate the style of my first griffon. She is definitely different though, a little chunkier for one, but try not to mention it to her face,
Subscribe to:
Posts (Atom)